Hi stitchers! Do you want to know how to make your own custom shoes? Keep on reading because I booked a class at the amazing I Can Make Shoes in London and decided to challenge myself with something new. Although his year I wanted to move forward from usual makes and create more challenging and difficult garments (a swimsuit, a technical coat and more), shoes were definitely not on my list. It was after seeing some of my friends attending different classes there, that I couldn't resist and thought it would be an amazing challenge and opportunity to learn something new. Custom shoes? Here I come!
In addition to this post, I have also vlogged showing you the custom shoes I created and giving you a bit more info. You can find it by clicking below.
Your custom shoes - All the steps!
Now, I want to show you a bit of the process that making a proper pair of custom shoes involves. It makes you appreciate handmade shoes, anything handmade, so much more. For example you will see that there are tons of steps, but also the teachers, Amanda (who is the owner), P and Tessa were just the best. I think I have never been in a class with such amazing, dedicated and patient teachers, ever! Anyway, let's start and hope this visual will help you understand the process a bit better (read the captions for all the info). I will leave more links at the end about where I got my leather and the I Can Make Shoes YouTube Channel where you will see all the process.
Lasts go first on your custom shoes
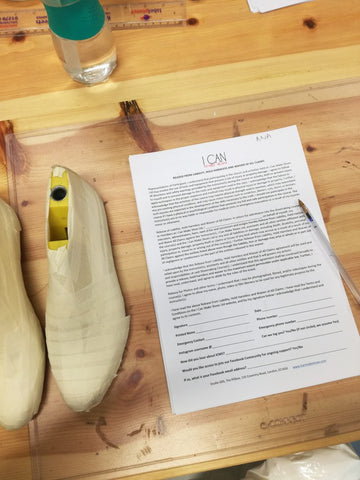
Lasts on your size taped and ready!
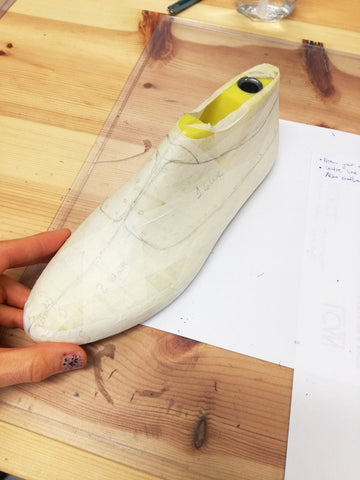
You have to draw your design on the tape.
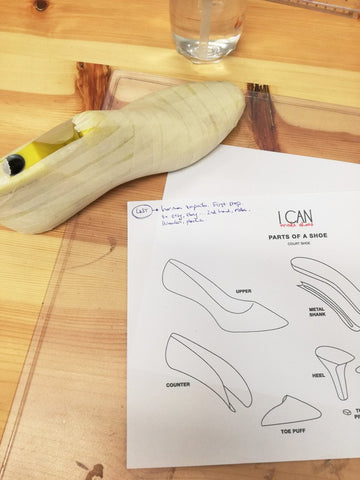
Amanda explains the parts of a shoe at the beginning.
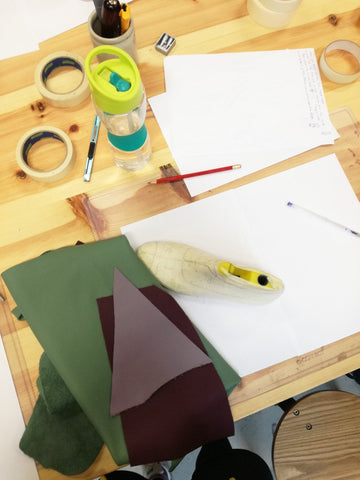
My leather selection from Alma Leather in London.
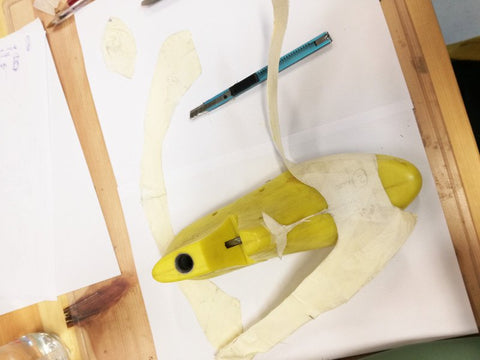
The last step here is taking off the tape from the last to get the pattern and then add allowance.
Pattern pieces are ready and now for the leather!
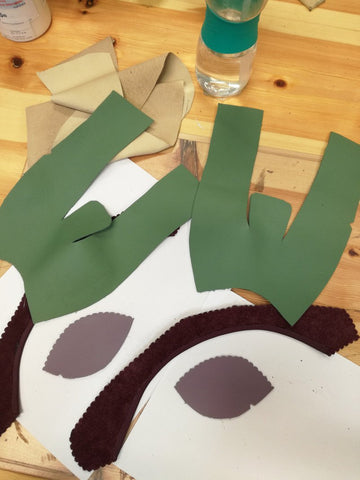
Pieces cut and ready to glue and stitch.
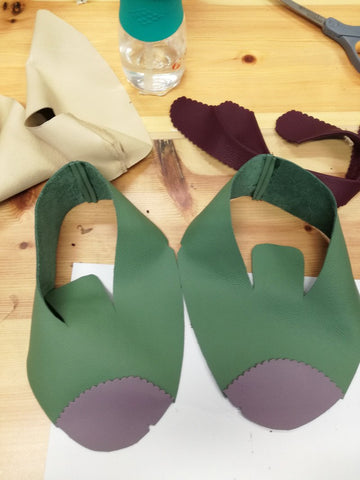
Top parts assembling process which requires glue and stitching.
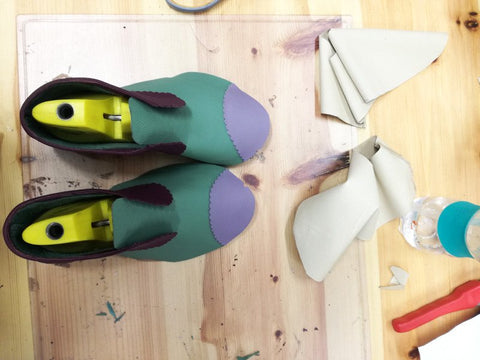
Lasts are out again as you need to assemble the shoes around them.
Starting work on the insoles
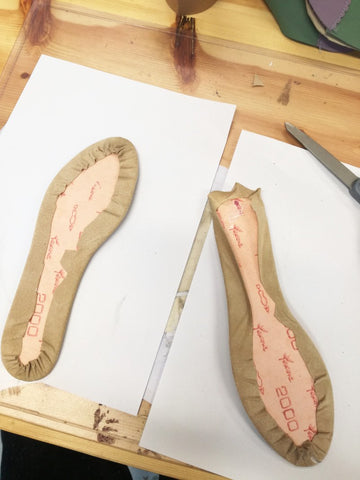
Working on the insoles that have a memory foam as well! The lining is glued to them.
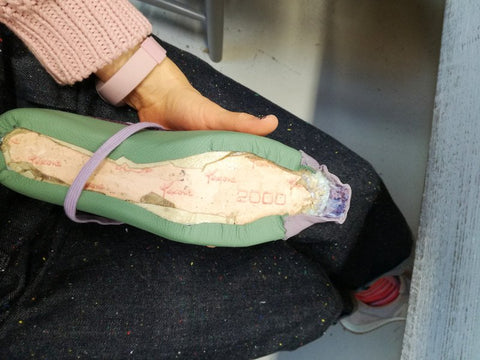
Lots of glue involved for this step attaching the outer layers with the lining in to the insole.
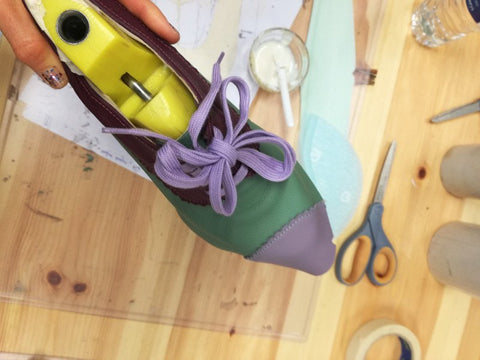
Looking like a shoe! Although there's a lot left to do.
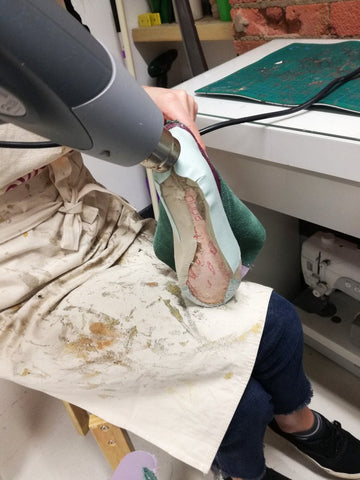
Stiffeners go in at the front and the back to make them extra strong.

And last, you apply cork for the bottom before attaching the sole[/caption]
And now for the soles...
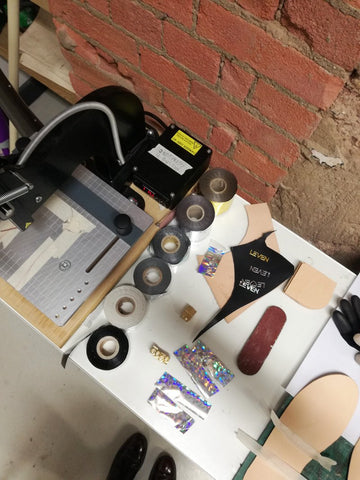
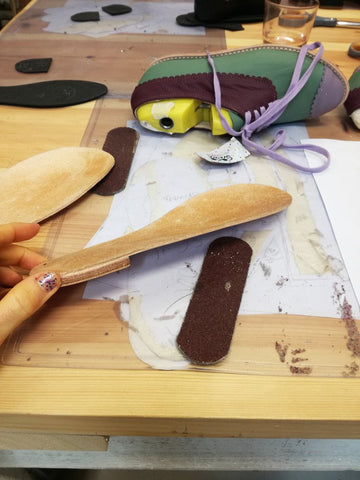
Sole construction. Different layers and lots of glue.
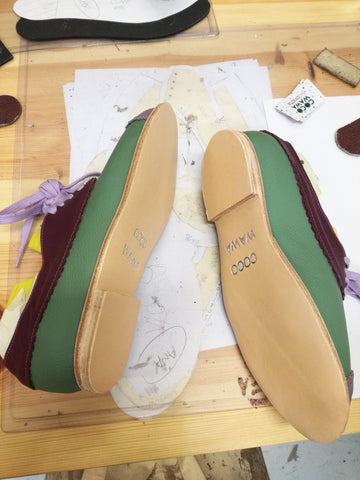
Soles are in!
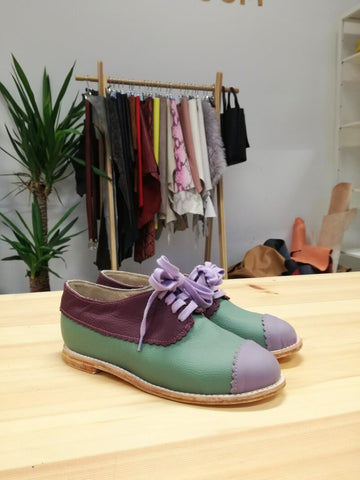
And I finished the shoes! Wouldn't these be perfect with a Honeycomb Dress?
Uff! Ok guys! To summarize, in all these pics you can see the whole process simplified as there's so much more work involved like polishing, applying glue and letting it dry, adding details, stitching, more gluing, assembling... It is a work of art!
Hope you liked this post, don't forget to check the YouTube video for more info and here are a few more links:
I got my materials from Alma Leather, although they are included on the course.
This is the I Can Make Shoes YouTube Channel for lots of info.
(This post is not sponsored. All the views are mine).
Last, thanks for reading and will see you here again soon!
xxxx
Ana
PS. Want to sew your own clothes? Take a look at our range of sewing patterns.
